How to salvage an interrupted 3D Print. It can be saved!

YOUR WORST NIGHTMARE

Bugger. A power failure on our Creality CR-10 printer, which does not have power recovery, led to a failed print. 

However, all is not lost. With a bit of lateral thinking, we are able to save this print. 

If you’ve had something similar happen, here’s how you can resume and finish that otherwise wasted print.  

This guide uses the awesome Zap-RT glue.

1. RESLICE AND PRINT THE REMAINING SECTION

Since we didn’t want to waste this print, we did a reslice for just the section that failed to print. 

It’s easier than you think. 

We used digital calipers to measure the print and saw that it failed at 116.5mm height. 

In Simplify3D we sunk the model down into the build table by this amount so it would start printing from this height. No other settings needed to be changed. 

Below we will show how we reattached the print, and the final product. 

2. REATTACH PRINT USING RUBBER TOUGHENED CYANOACRYLATE GLUE

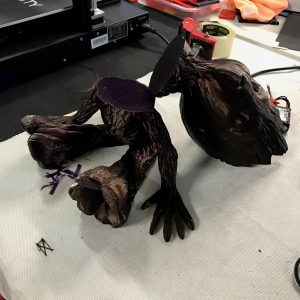
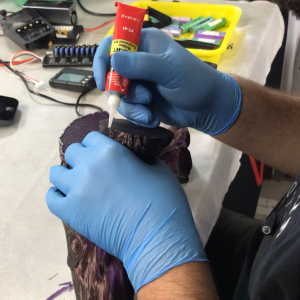
Once the rest of the print has completed, its as simple as gluing them together with Zap PT44  Rubber Toughened Cyanoacrylate Glue. This glue holds in just 15 seconds, and within 24 hours it will set incredibly firmly. 

We wouldn’t recommend this, but to demonstrate the quick hold we picked up our print by the top half just 20 seconds after contact, and it held fine. But you’ll probably be safer to wait the 24 hours. 

Don’t forget to wear rubber gloves, and only apply the glue to one surface.

Watch the video below to see the whole process, including how to apply the glue, and see the final product at the end. 

HOW TO APPLY THE GLUE + FINAL PRODUCT

Leave a Reply

Your email address will not be published.